
How to make zinc alloy die casting soft enamel lapel pins
author: Donny
2022-07-28

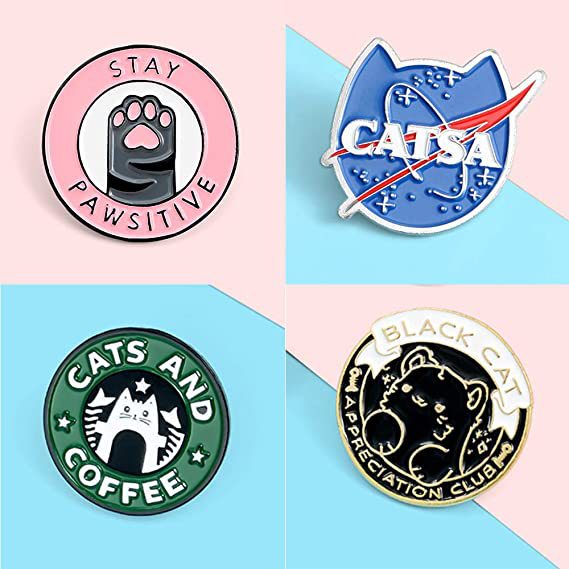
How to make zinc die casting soft enamel lapel pins. First of all we need to draw out the design of pin when we finish the drawing ,we input it into our mold-making computer and getting ready for the mold then we clean our working table. This is a blank mold that is needed to be cut and engraved we set our blank mold and start cutting now. We just finished cutting the mold and we are not done yet.
we will proceed to our next procedure we are making a zinc metal finishing pin so we are making pin by liquefying the metal. As a reason we need to open up an entry for the liquid metal filling into our mold step of mold making.Has been done by now ,this is an example of making a back mold for our pin. Who crafts a front mold and back mold in order to create a seamless vacuity space ,then we fill the space with the liquid metal we will wait and let it cool off. And you can see an embryo of the pin now we have the front and back molds done. Place the molds correctly in our machine when the machine is on these metal zinc will be liquefied and filled into the molds when they cool off the embryo is done usually we can place more than one set of moles in our machine so that we can make it done at once for this time we do four sets in once.
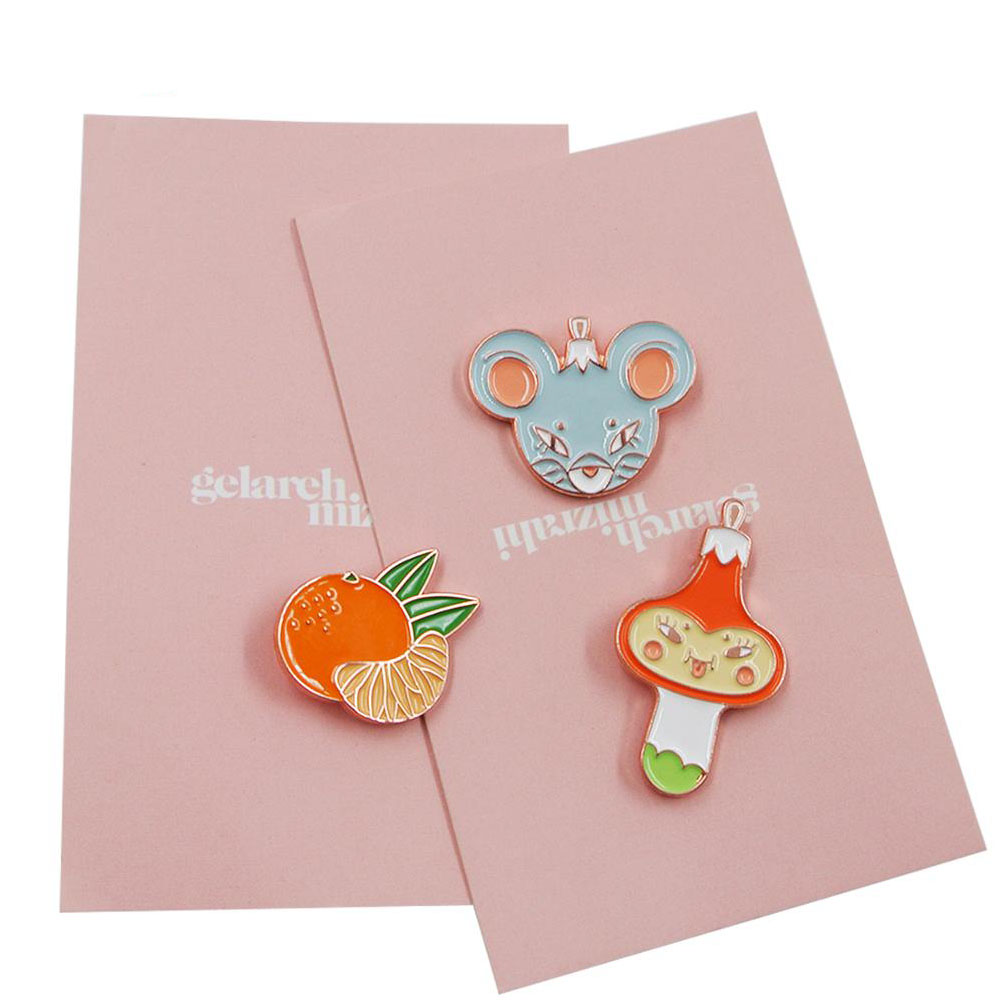
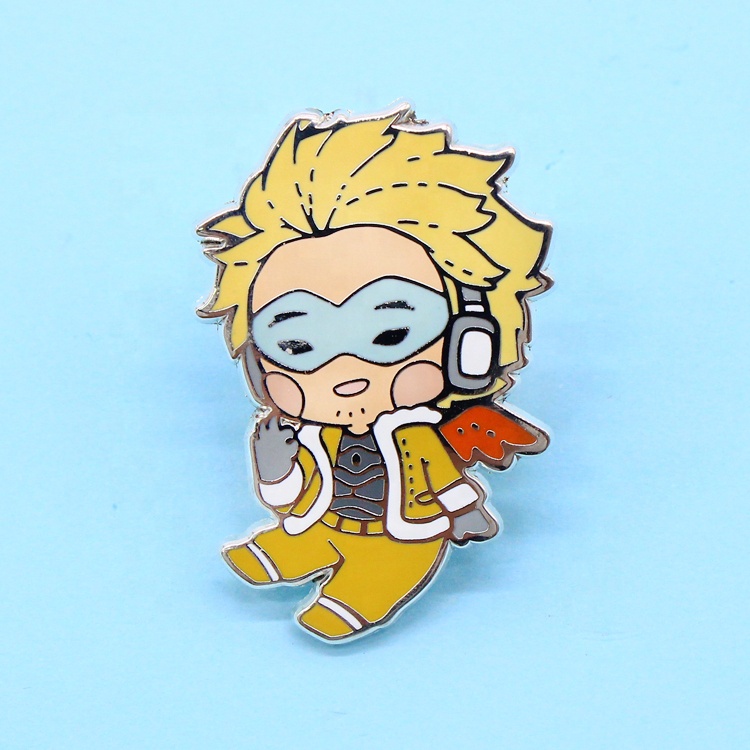
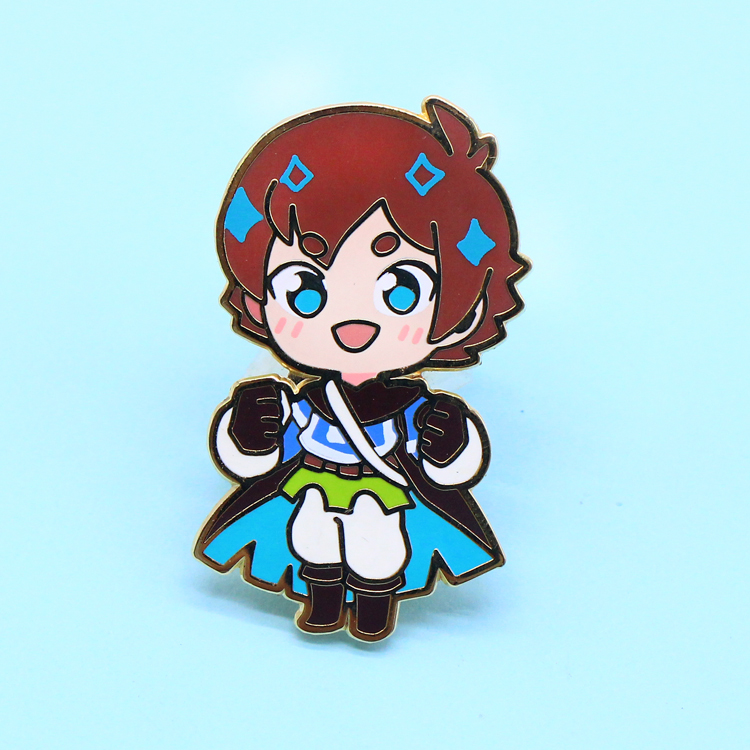
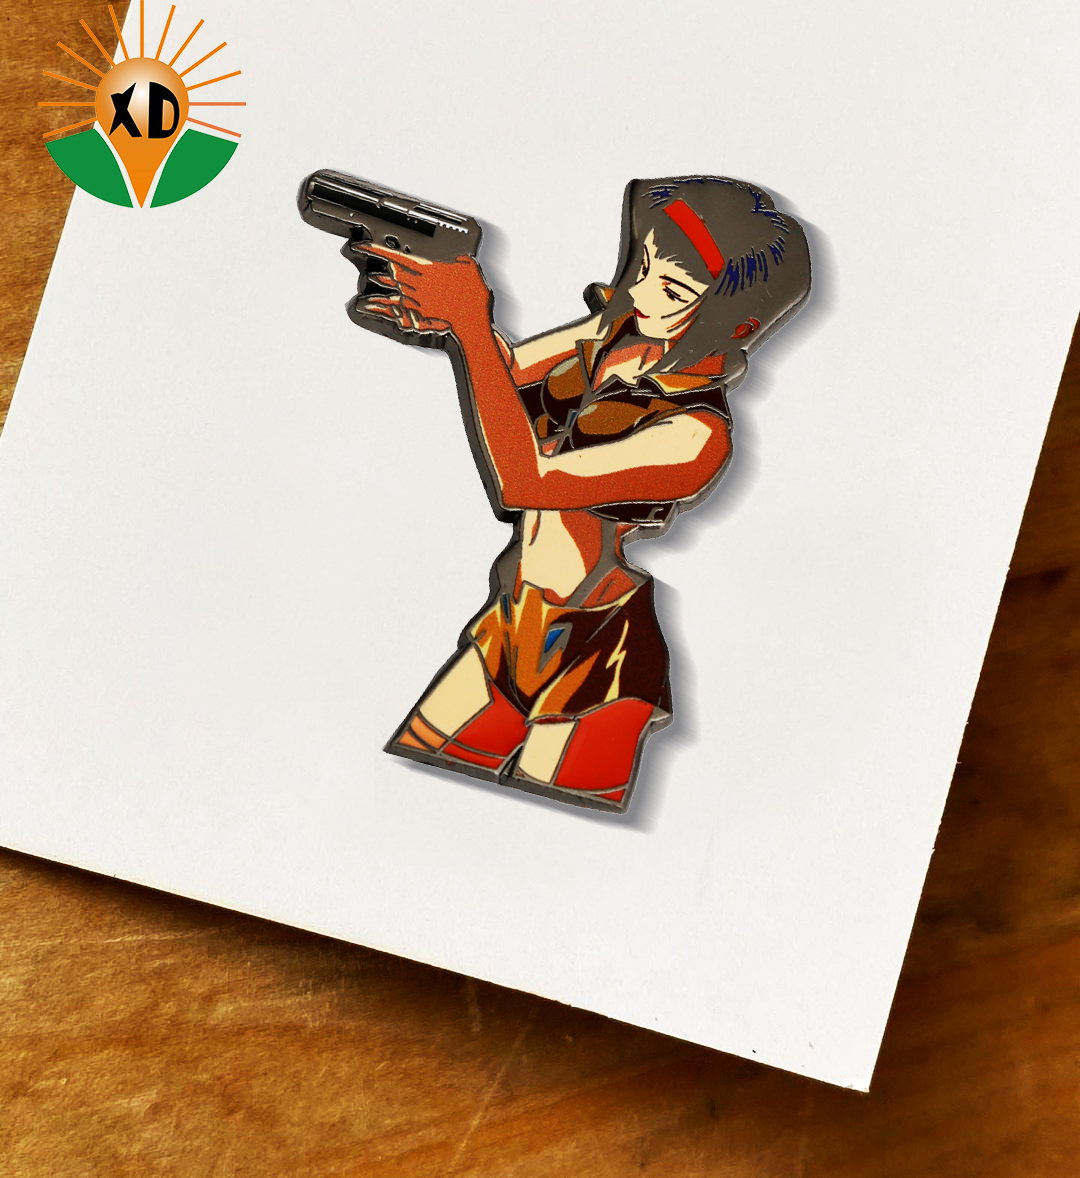
we need to polish the edge of the embryo to remove any thorn instinct now we will attach the clutch by riveting it on the pin. And we take it to polish again after polishing we are going to electroplate. First we need to clean the pin we rinse it with clean water before putting it into acid water for purifying through chemical reaction then we rinse it over and over again we sink it into the plating trope for copper plating and we rinse after first plating then we do a second plating to ensure the plating quality. While finishing plating we need to rinse multiple times and we will drive the pin by baking it we take the pins off and organize them piece by piece now the pins are ready for color after matching requested colors our technicians use coloring needle to color pins. Manually the coloring process is different between soft enamel and hard enamel. For soft enamel we can bacon drive the pin once we finished coloring the whole pin the badge needs to be baked once in a color then the next color and then drive finally we have finished all process of making a soft enamel pin this is the presenting of a finished product.

we will proceed to our next procedure we are making a zinc metal finishing pin so we are making pin by liquefying the metal. As a reason we need to open up an entry for the liquid metal filling into our mold step of mold making.Has been done by now ,this is an example of making a back mold for our pin. Who crafts a front mold and back mold in order to create a seamless vacuity space ,then we fill the space with the liquid metal we will wait and let it cool off. And you can see an embryo of the pin now we have the front and back molds done. Place the molds correctly in our machine when the machine is on these metal zinc will be liquefied and filled into the molds when they cool off the embryo is done usually we can place more than one set of moles in our machine so that we can make it done at once for this time we do four sets in once.
we need to polish the edge of the embryo to remove any thorn instinct now we will attach the clutch by riveting it on the pin. And we take it to polish again after polishing we are going to electroplate. First we need to clean the pin we rinse it with clean water before putting it into acid water for purifying through chemical reaction then we rinse it over and over again we sink it into the plating trope for copper plating and we rinse after first plating then we do a second plating to ensure the plating quality. While finishing plating we need to rinse multiple times and we will drive the pin by baking it we take the pins off and organize them piece by piece now the pins are ready for color after matching requested colors our technicians use coloring needle to color pins. Manually the coloring process is different between soft enamel and hard enamel. For soft enamel we can bacon drive the pin once we finished coloring the whole pin the badge needs to be baked once in a color then the next color and then drive finally we have finished all process of making a soft enamel pin this is the presenting of a finished product.

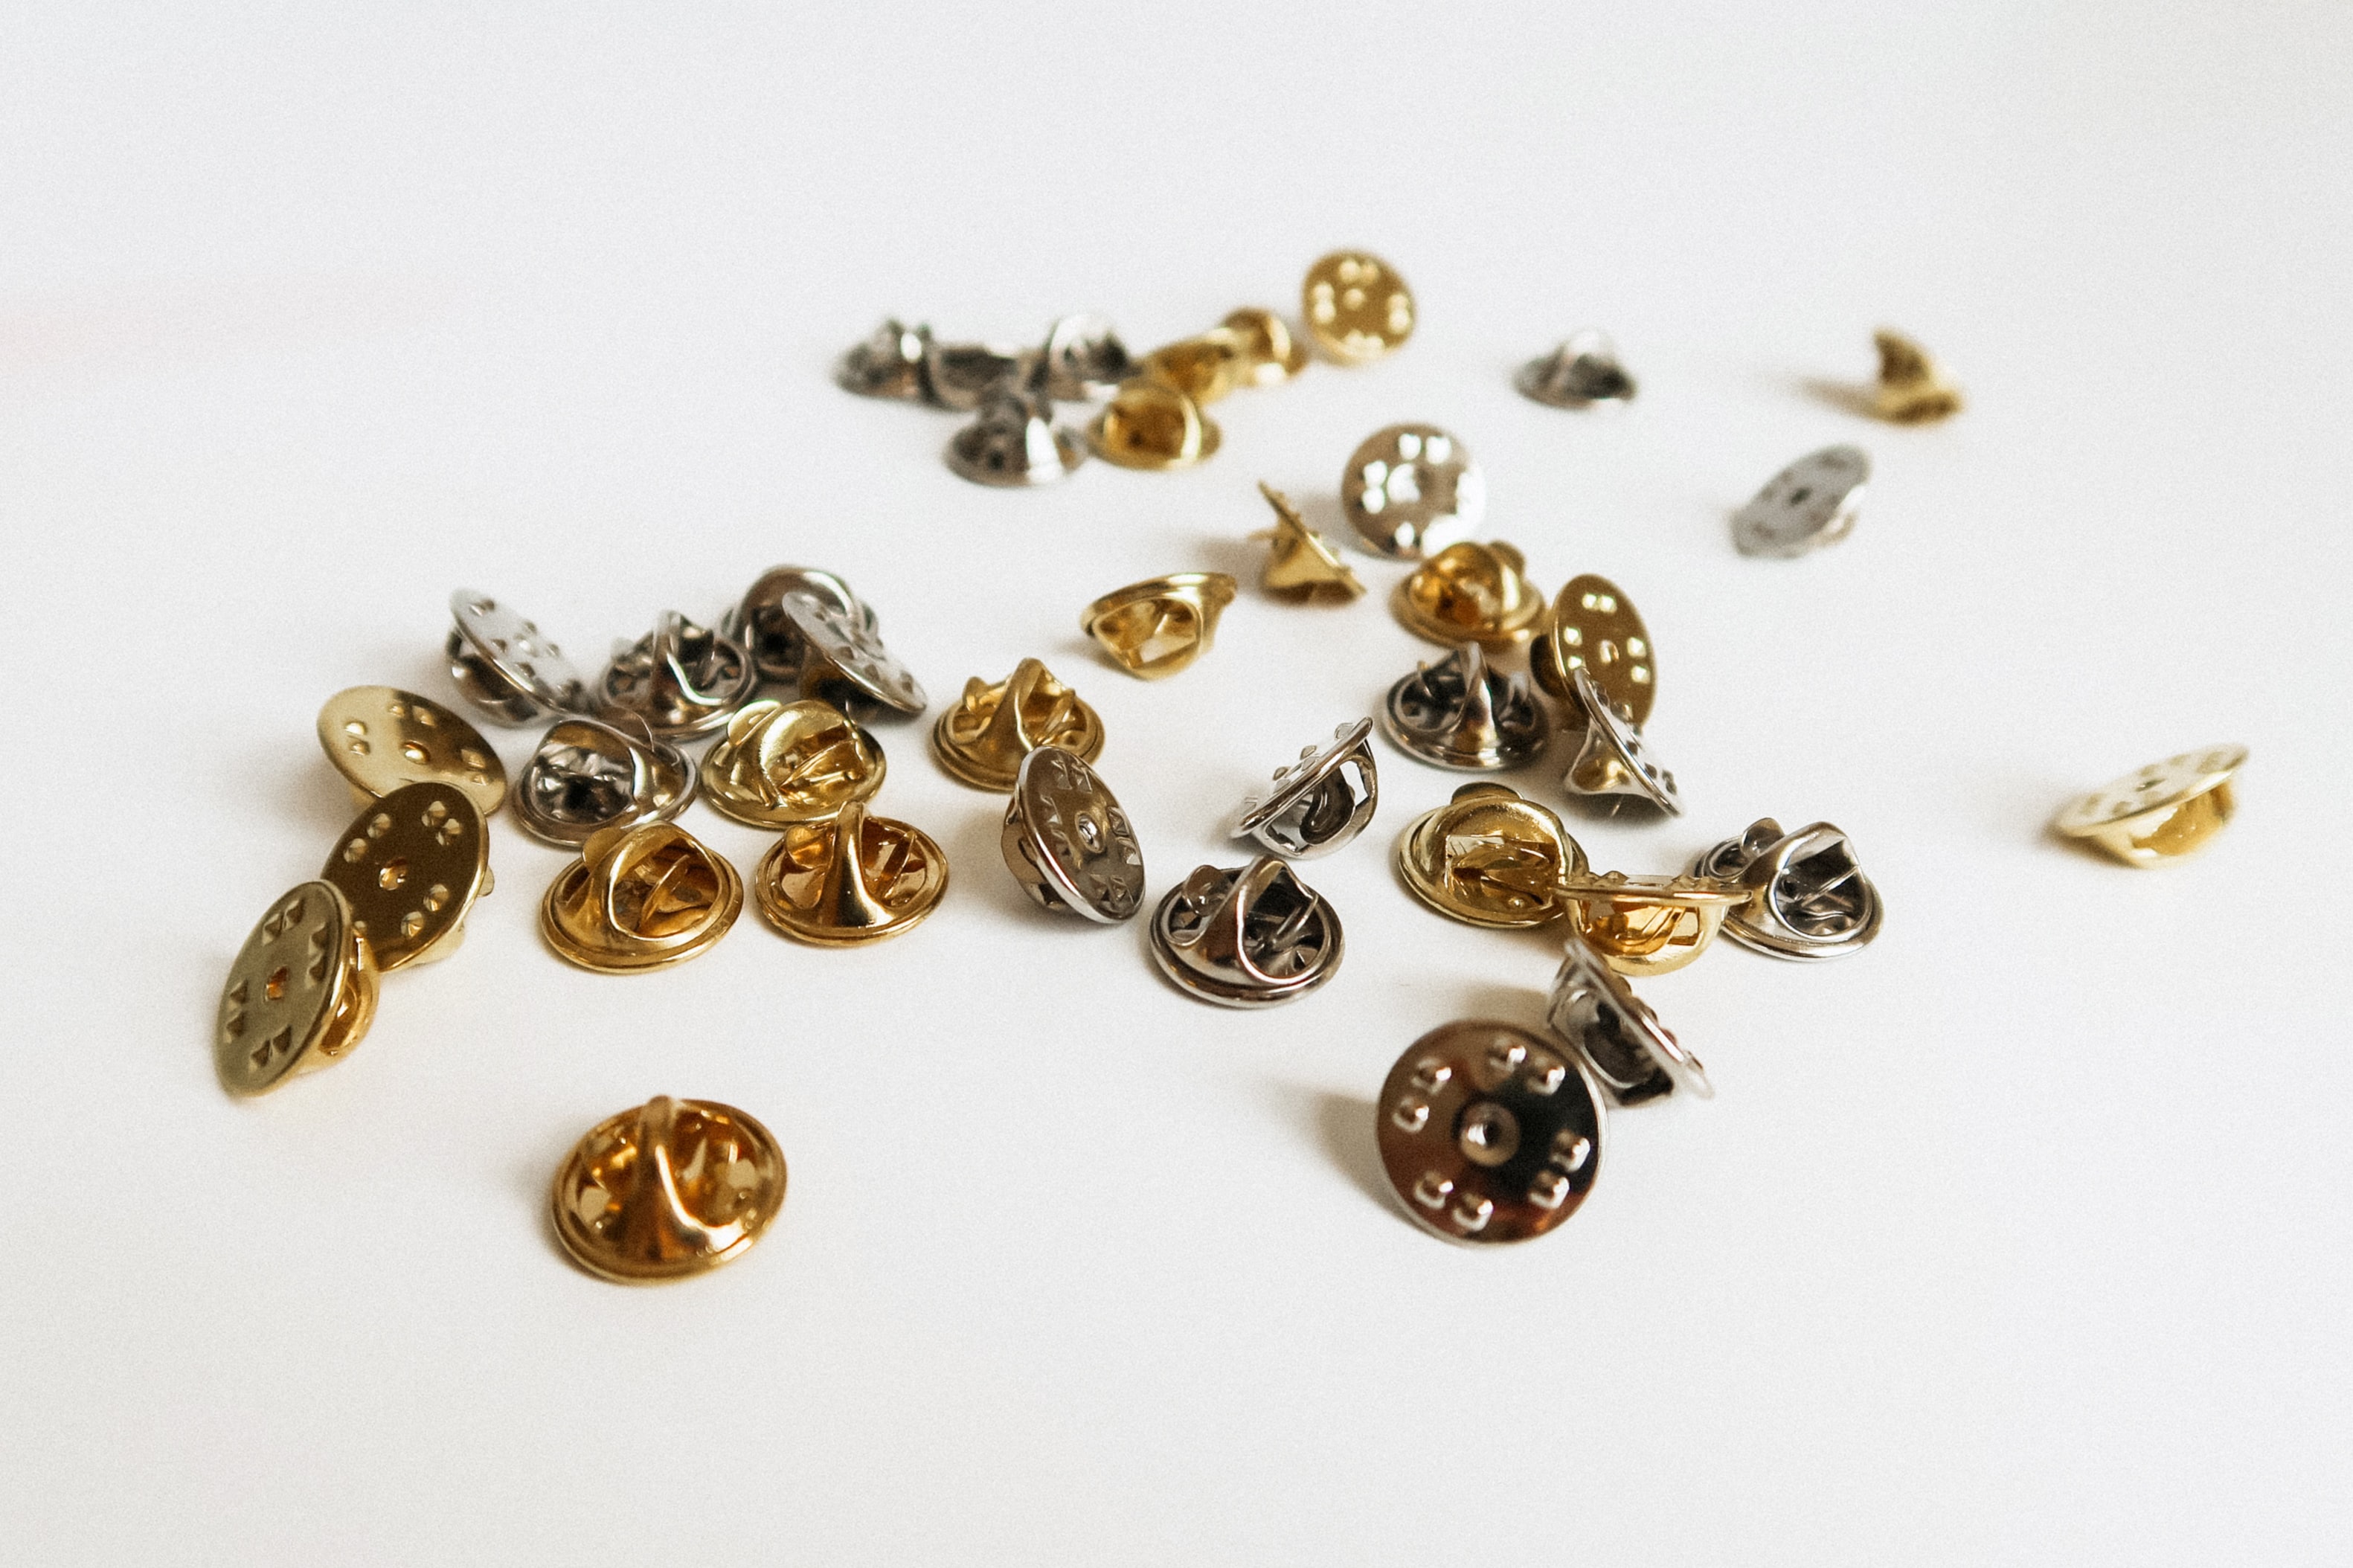 Why choose copper for custom badge accessories butterfly hat?
  What are the materials for making metal badges?
  Badge Customization--Material
  Talking about why zinc alloy badge customization will not rust?
  Customization of metal badge
 - How to do the surface treatment of zinc alloy
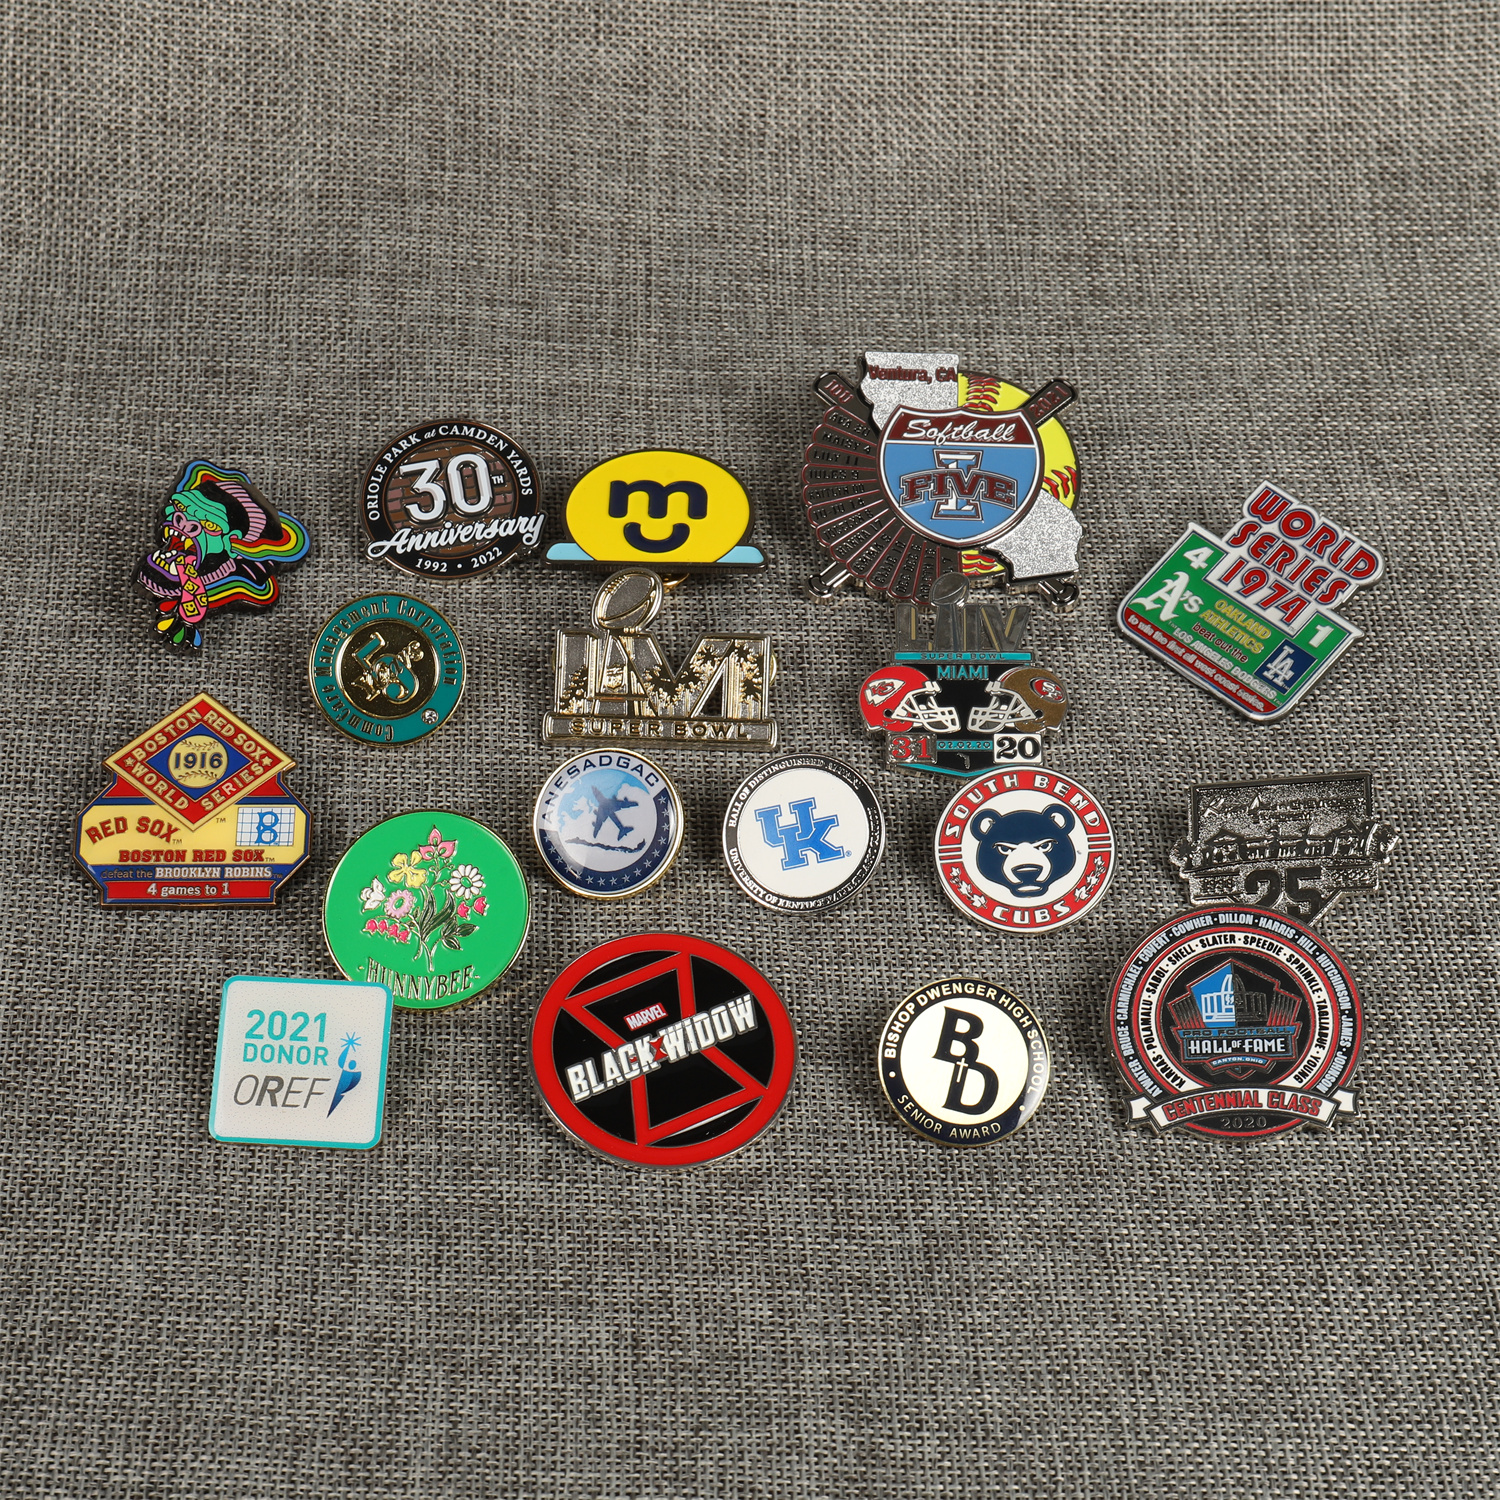 Custom badges Epoxy badges are also called printed badges
 - Why choose copper for custom badge accessories butterfly hats?
- The difference between imitation enamel badges and paint badges
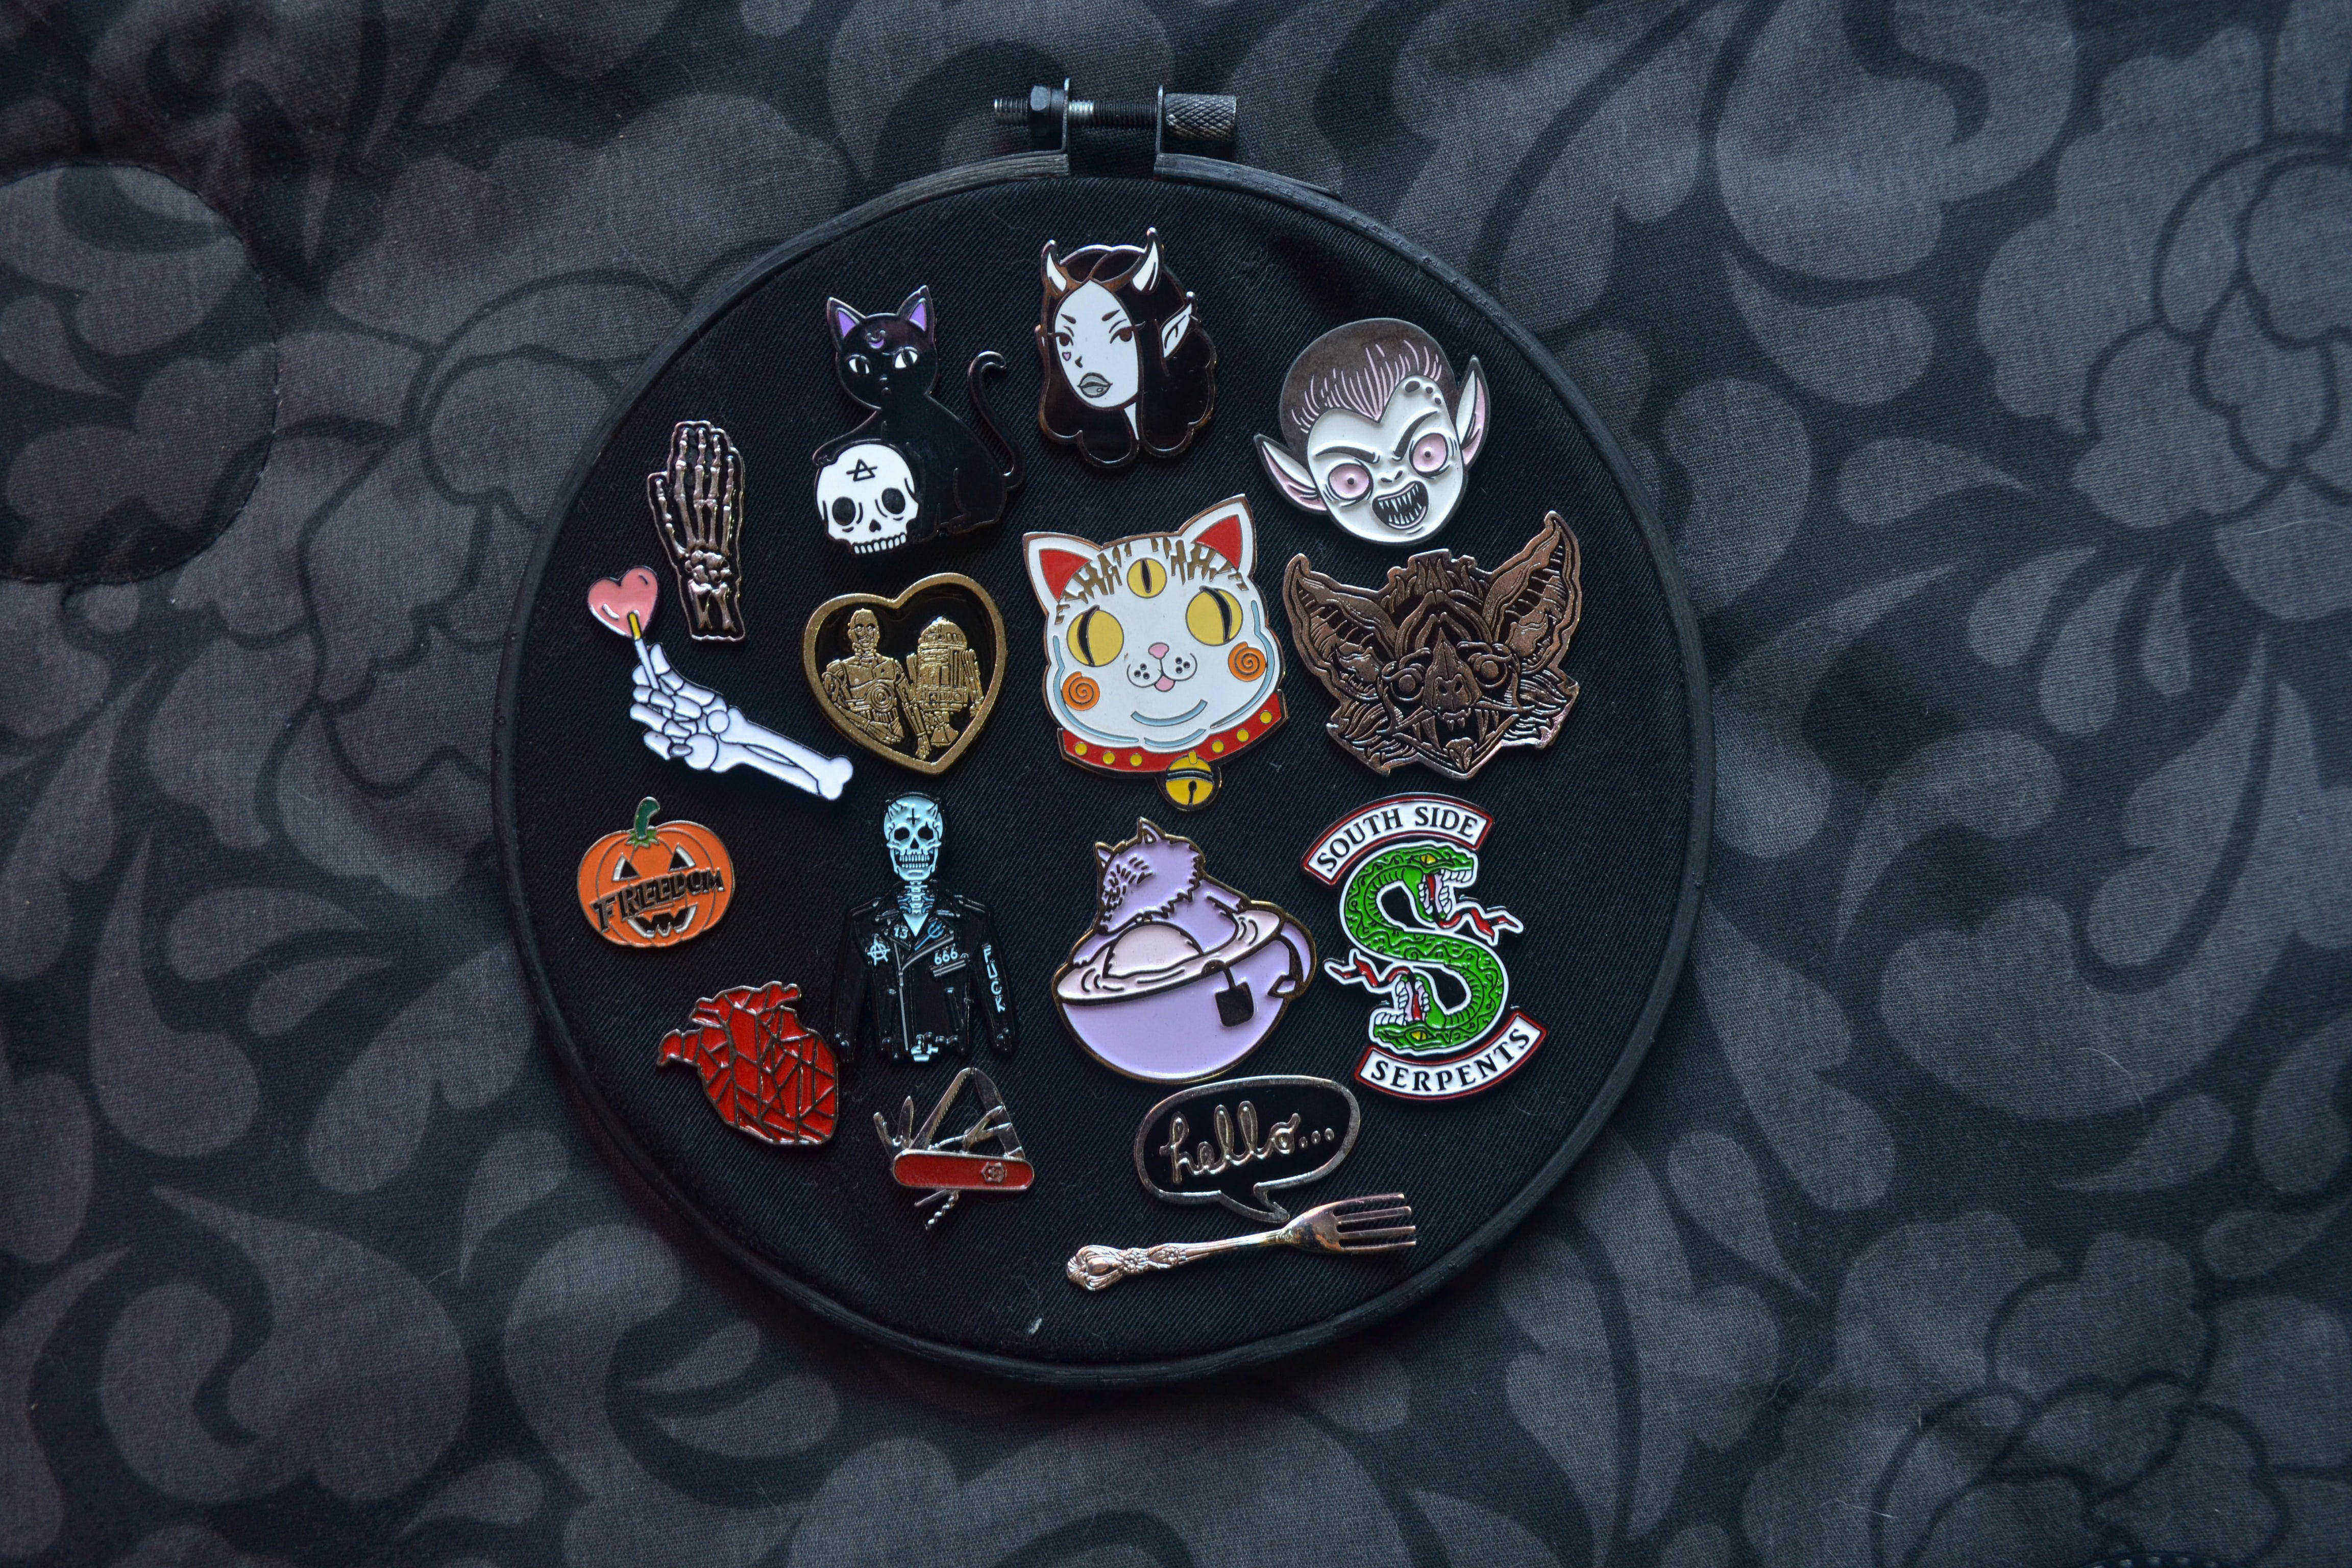 Medal badge customization service | customization precautions
 - Badge customization manufacturers: the production process of metal badges
- Common size and thickness of badge customization
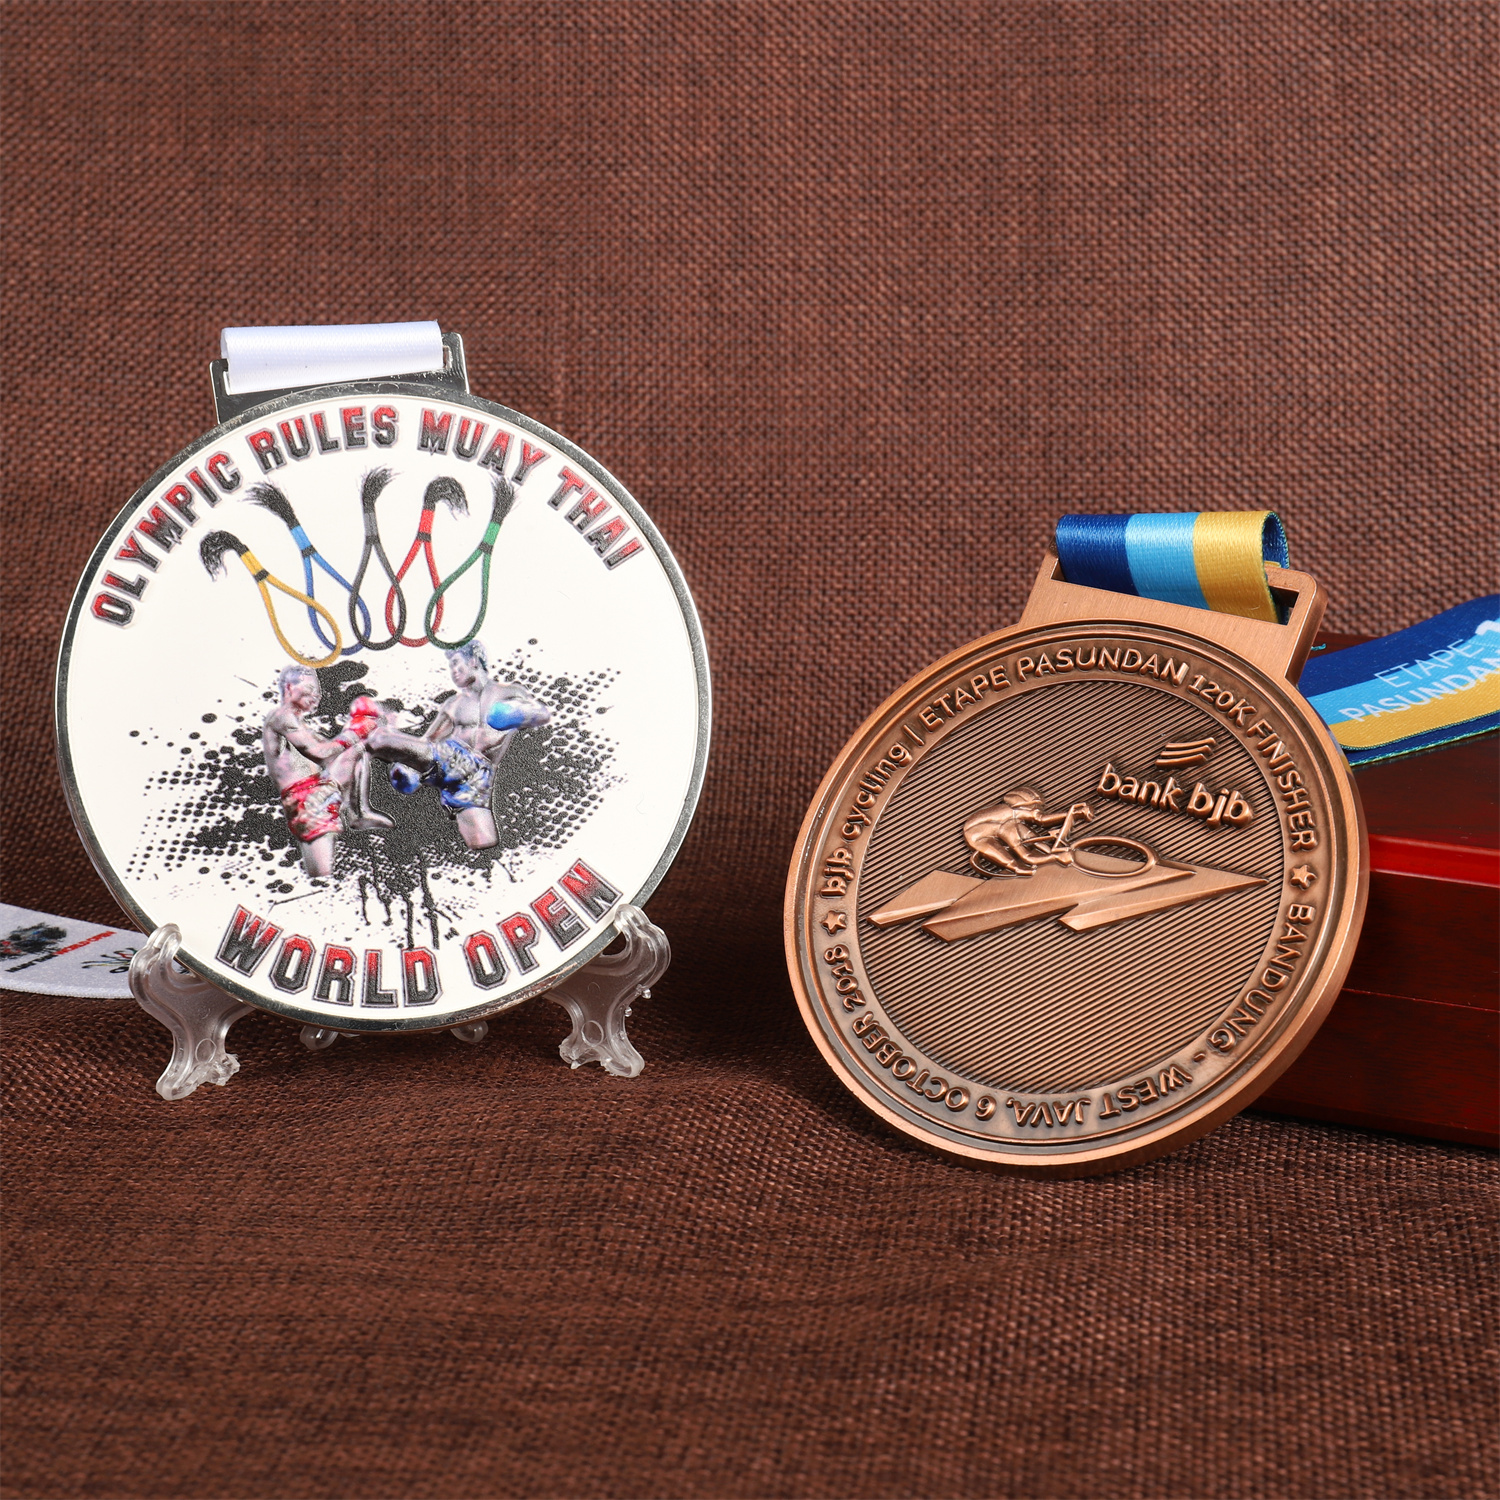 Why do marathons need marathon medals?
 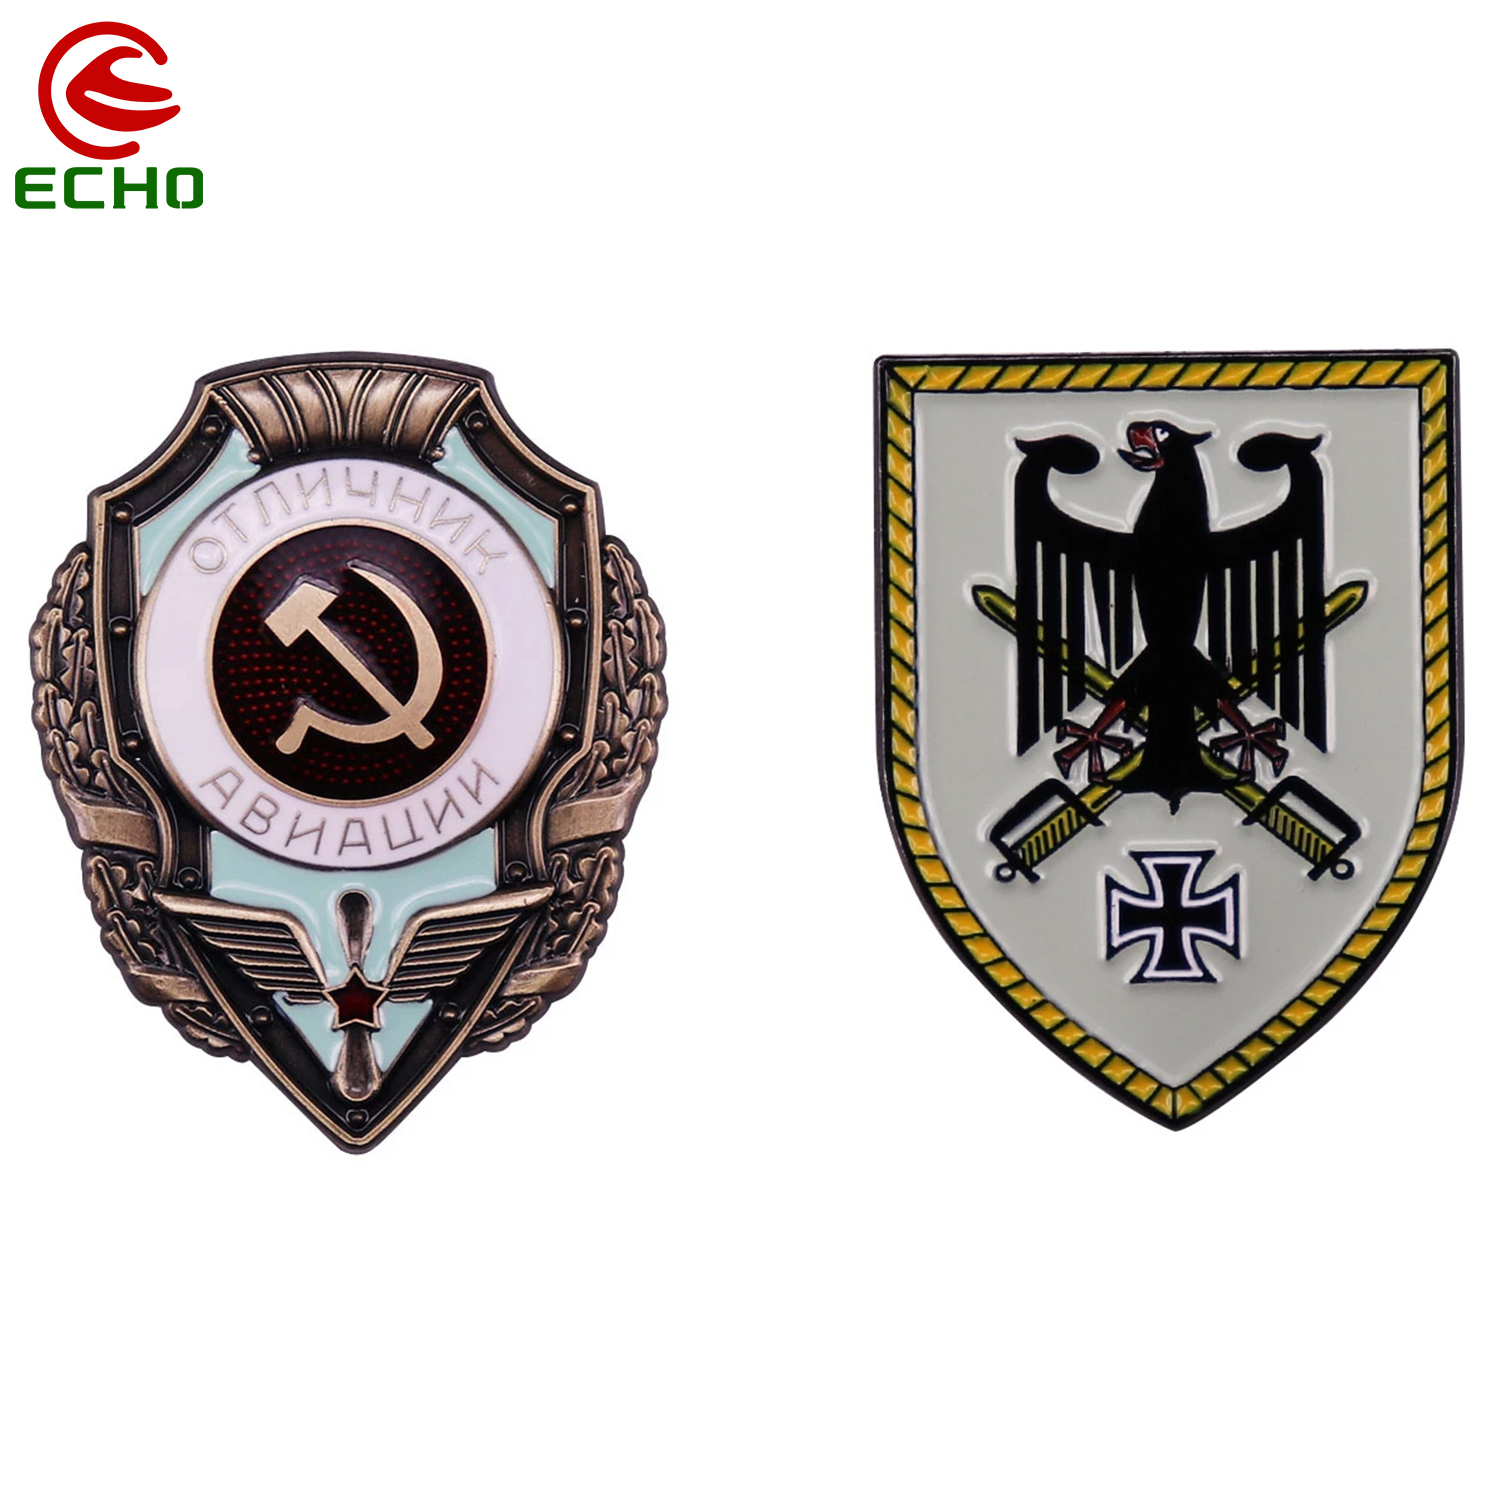 The Significance and Ways of Making Enterprise Metal Badges
 - About Soft Enamel Technique Of Custom Lapel Pin
- Process Of Different Printing Technique
- Introduction Of Printing And Soft Enamel Lapel Pin
- The difference between real enamel craftsmanship and imitation enamel craftsmanship
- Several problems that are easily overlooked in badge customization
 The difference between enamel badges and imitation enamel badges for badge customization